
Graphic Buds
Learning Basics - Week 2
The Tool Palette and Tool Options
Tutorial found HERE.

Original File

Deform Tool
Use the Deform tool on it. Use what you have learned and stretch the top wings out and then squeeze the bottom wings in. Then while the Deform tool is still active, rotate the image. Now Flatten the image.

Selection Tool
Use the Freehand Selection tool, set to Point to Point, on the Butterfly PSP File that you downloaded for the Deform tool. Uncheck Antialias and select on the left side of the Butterfly the blue wing border. After it is all selected, delete it. Now check the Antialias. Select on the right side of the Butterfly the blue wing border. After it is all selected, delete it. Flatten and save this as a .jpg file


Paintbrush
Create an original image, 400x400 pixels in size, using the Custom Brushes that come with PSP7. You can save this file as either a .jpg or a .gif file, depending on which looks better for the image you have created.
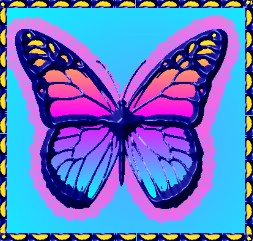
Clone
Go back to the original butterfly file. Flatten it so that is has a white background. Now be creative and Clone parts of the Butterfly to the white background. Once done, save the file as a .jpg
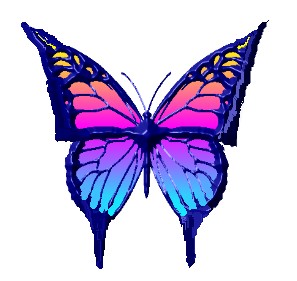
Retouch
Back to the Butterfly image once again and flatten it. Now click on the Retouch tool and choose Smudge. Be creative and Smudge that Butterfly! Once done, save the file as a .jpg

Preset Shapes
Pick one of the 3D Shapes. Those are the ones that have color and details instead of just being black and white. Open a new transparent image, 250x250. Apply the Shape you have chosen. Now using the guide for editing a Vector Object, alter the Shape so that it looks entirely different. Once done, Convert to a Raster Layer as per the directions. Then flatten this image. Once that is done, save the file as a .jpg

Created Nov 6, 2002